


An EMI shielding gasket is only as good as the mechanical design around it. The conductive elastomer itself — its particle loading, formulation, and surface conductivity — is just half the equation. The other half is how you size the groove, how hard you compress the joint, and what load case the seal actually sees in service.
Get any of these wrong, and a gasket that should deliver 80 dB can quietly drop to 60 dB the moment the flange gets dirty, warped, or over-stretched during assembly. Below are the five parameters that make or break conductive rubber gaskets, with the numbers engineers need to specify upfront.
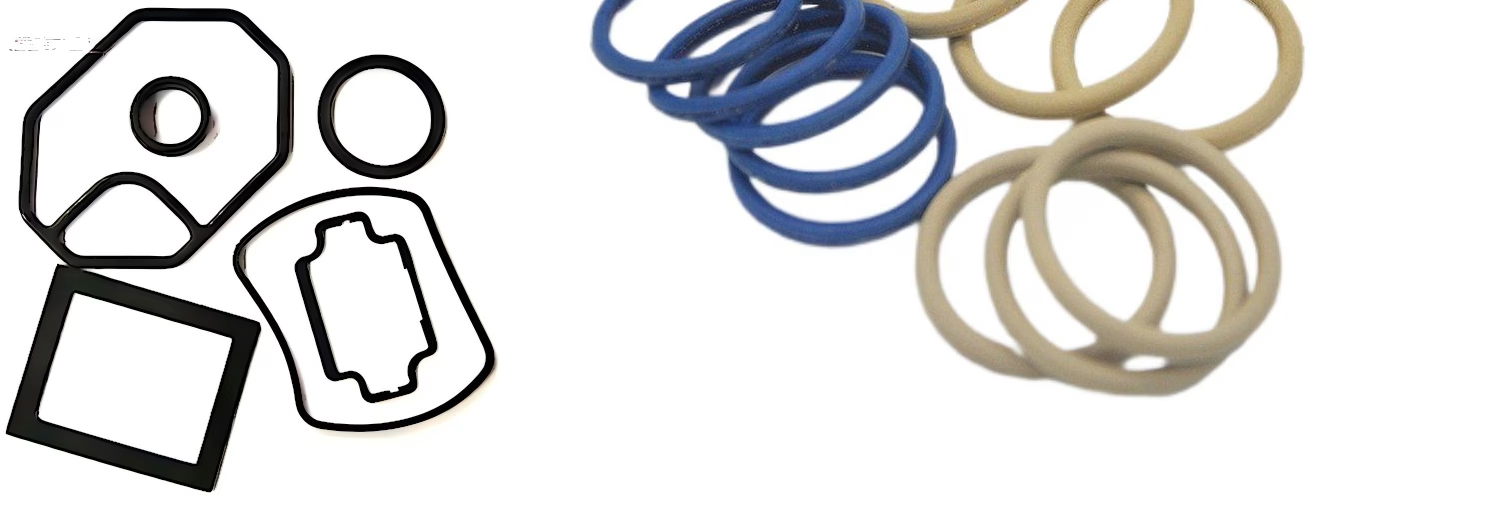
1. Shielding Effectiveness: Know What You’re Shielding Against
The first question every engineer should ask: what frequency am I trying to contain? The shielding effectiveness you need depends entirely on the interference source — its strength, its frequency content, and whether you’re dealing with a dominant electric field or magnetic field.
For modern high-speed digital systems, this gets serious fast. Conductive rubber gaskets can provide ≥60 dB shielding effectiveness from DC to 40 GHz, with ≥80 dB achievable at 5 GHz. But there’s a catch: those numbers are only valid if the gasket is properly compressed and the mating surfaces are conductive.
Surface conductivity of both the gasket and the mating surface is the single most important factor that makes the sealed seam effective. A dirty flange, or an anodized surface that isn’t masked, can cost you 20 dB before the gasket ever leaves the bench.
Takeaway: Specify your frequency range and required attenuation upfront. Test your enclosure with the actual gasket under compression, not just the material datasheet. For a deeper look at how the material behaves in real assemblies, see our guide to conductive rubber applications for electromagnetic shielding.
2. Assembly Force: 1.05 N/mm vs. 1.40 N/mm
This is where many designs go off the rails. The assembly force requirement isn’t arbitrary — it’s a function of what you’re sealing against.
- EMI shielding only: about 6 lbf/in of closure force, or 1.05 N/mm (1 lbf/in ≈ 0.175 N/mm). That’s the minimum to compress the conductive particles enough to establish a continuous conductive path across the joint.
- EMI shielding + environmental sealing (water, dust, humidity): about 8 lbf/in, or 1.40 N/mm. The extra force ensures the elastomer deforms enough to form a proper barrier — it changes shape, not volume, to accommodate the pressure.
Takeaway: Design your enclosure latch or screw pattern to deliver the required force per unit length of gasket. Underspecify it and you’ll get intermittent EMI issues. Overspecify it and you’ll either warp the enclosure or make assembly a nightmare.
3. Volume Fill Ratio: Don’t Overfill. Don’t Underfill.
Deceptively simple, frequently ignored. For static seal applications you need to calculate the volume fill ratio — the relationship between the cavity volume and the volume the gasket will occupy when compressed.
Overfill the cavity and the gasket has nowhere to go — it can push the enclosure apart or make the cover sit proud. Underfill it and you don’t get enough compression to establish either the conductive path or the environmental seal.
Takeaway: Model the compressed and uncompressed gasket volumes, and account for tolerances in both the extrusion and the machined groove. This is a first-principles calculation, not a “close enough” parameter. Our rubber gasket design guidelines walk through the groove geometry step by step.
4. Compression Set: Keep It Under 30%
Compression set is the permanent deformation that remains after a gasket has been compressed and released. Over time, a gasket with high compression set loses its ability to maintain sealing pressure.
For conductive rubber gaskets, keep the permanent compression set under 30%. Exceed that and you’ll see degraded shielding over the product’s life — especially with thermal cycling or repeated access.
Takeaway: Specify compression set in your material callout, and test it at your operating temperature extremes, not just at room temperature. Some conductive elastomers only reach ≤35% at 100°C — know what your application actually needs. Start with the conductive rubber material options that fit your temperature window.
5. Assembly & Geometry: Two Rules That Save Headaches
Rule 1: Don’t stretch the gasket more than 5%
This is non-negotiable. During assembly, avoid stretching conductive gaskets beyond 5% of their free length. The conductive particles inside the rubber form a percolation network; stretch too far and those particles lose contact, breaking the conductive pathways. The result is a gasket that looks fine but has localized high-resistance zones that kill shielding effectiveness.
Takeaway: Match groove length to the gasket’s free length. If a gasket is 5% too short, get a longer one — don’t pull it into place.
Rule 2: O-ring sections don’t belong in shear

If the mating parts slide, pivot, or move laterally during operation or assembly, do not use an O-ring cross section. O-rings are designed for pure compression; introduce shear and the circular section tends to roll, twist, or extrude out of the gland — compromising the seal and breaking the conductive network.
The right choice for shear-prone applications is a D, P, or C section, which offers better lateral stability and holds its geometry under off-axis loads. See O-ring groove design principles for the difference between compression and shear loading.
Takeaway: Identify the primary load direction in the joint first. If shear is present, skip the O-ring and specify a D, P, or C profile. Save the O-ring for static, compression-only seals.
The Conductive Rubber Gasket Checklist
| Parameter | Specification |
|---|---|
| Shielding effectiveness | ≥60 dB (DC–40 GHz), ≥80 dB @ 5 GHz |
| Assembly force | 1.05 N/mm (EMI only) / 1.40 N/mm (EMI + environmental) |
| Assembly stretch | ≤5% |
| Compression set | ≤30% |
| Shear loading | Use D/P/C section, not O-ring cross section |
Design the Gasket, Not Just the Material
Conductive rubber gaskets are remarkably effective when designed correctly — and remarkably frustrating when they’re not. The material is only half the equation; the other half is the groove geometry, assembly force, assembly process, and load case around it.
If you’re specifying an EMI gasket for a new enclosure, start with the numbers above and test under compression. And if you’d rather not leave the mechanical design to chance, our conductive rubber EMI shielding products — gaskets, tubing, and pads — can be engineered to your exact groove and load requirements.


